
If you missed it, read Part 1: Varieties & materials
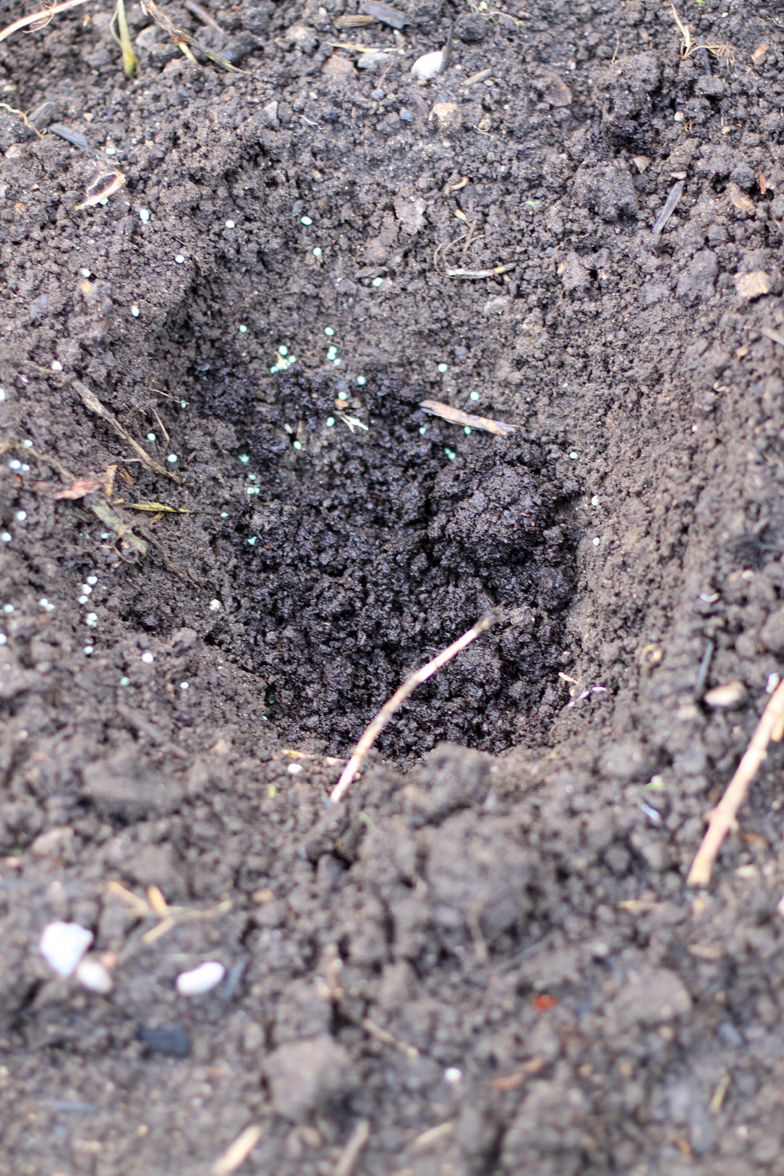
Step 1: Dig a hole
Pick a spot in your garden and dig a hole at least a few inches deep. You’re going to be planting much deeper than your seedling sat in the cube tray.
Step 2: Fertilize the soil
After you’ve dug your hole, sprinkle in some high middle-number fertilizer. I use 15-30-15 to promote blossoms. Alternatively, you can buy actual tomato plant food.

Step 3: Add manure or compost
Then throw in a handful or two of manure or compost. Be sure to mix it around with your hands or a garden shovel. You don’t want to plant your seedling directly into a pile of fertilizer pellets – the roots could burn and your beefsteak dreams might be over real quick.
Step 3: Start pruning on day 1
There should be two tiny branches sitting fairly close to the soil in your cube tray. Pinch them off. These branches are unnecessary and this portion of the stem is going to be buried in the soil anyway.

Step 4: Plant your seedling lying down
Lie your seedling down in the hole with the main leafy portion of the plant still above ground. Lots of how-to articles tell you to plant your seedlings lying down – this is especially helpful if you don’t have enough depth of quality soil. I do this by default, to encourage root stability and to keep them closer to the warm surface during the early stages of growth.

Step 5: Bury the stem
Bury the stem and roots and pack the soil down nicely. Don’t pack it too hard or you’ll break the main stem.

Step 6: Water it. A lot.
And if there’s risk of frost overnight, cover it with something that allows air circulation but won’t allow frost to settle. I use lawn chairs.
Remember: Tomato plants need full sun and lots of water.